Our step-by-step instructions will help you install your new software quickly and smoothly.
If you don’t have a license key yet, you can buy one here: to the product.
The installation of Microsoft 365 is relatively straightforward: You go to this site, follow the instructions and enter the supplied key when prompted.
However, before you start the installation, make sure that all existing Office products are uninstalled. You can use the License Removal Tool for Mac to do this. After that you can start the installation.
1. Click on the link sent to you in the confirmation email or go to our download center, select your product and click “Download”.

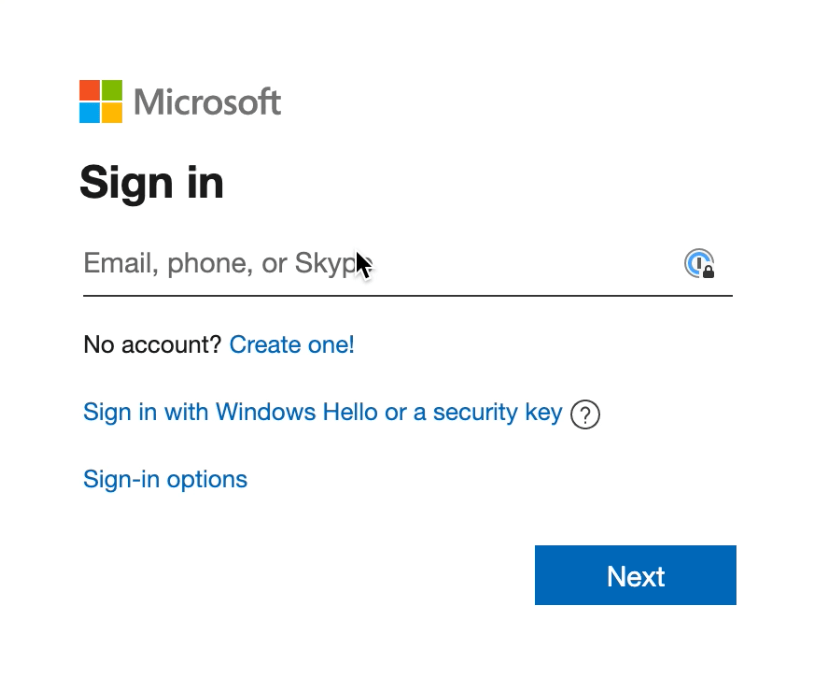
2. Log in to your Microsoft account.
3. Type in your product key.
Important: If you are not redirected but you have already clicked on “Next”, open your Microsoft profile. Log in and go to “services & subscription”. Your product should be there and you can continue with step 6.

4. Click on “Confirm”.
5. Click on “Go to Microsoft 365 Family”.
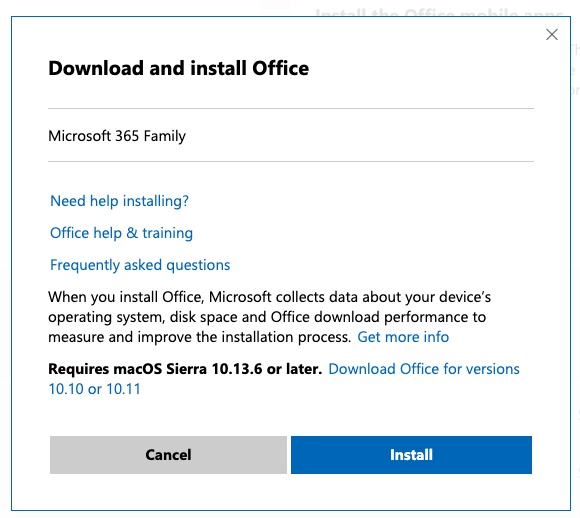
6. Click “Install” to go to the next window.

7. Here you click on the “Install” button again, after that the download should be done.
The installation will now be done on your device either a Windows or Mac product.
For Mac installation, skip the Windows installation.
Windows Installation:
8. Right click on “Setup” and select “run as administrator”, after that the installation wizard should start.
9. The necessary data will be loaded. After that the window closes automatically and the installation status can be viewed.
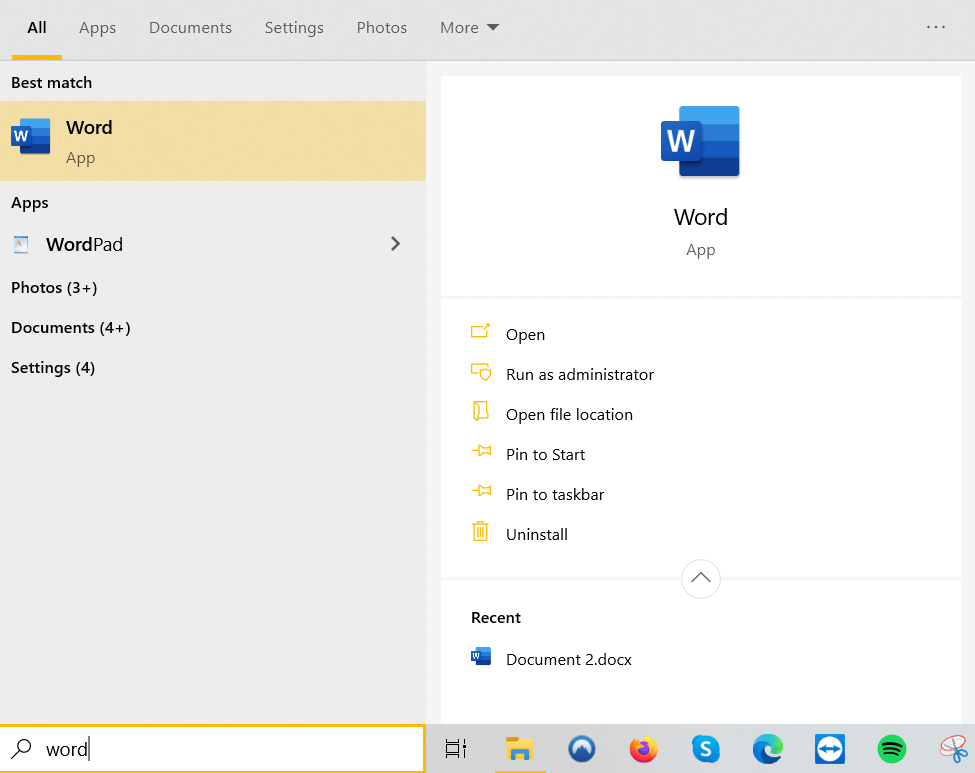
10. After the installation, go to the search field at the bottom left and search for “Word”. Launch the app, once the app is launched a product activation window will open.
11. Once the application has been opened, the window for entering the product key will appear. Click in the “Change Product Key” field. Now enter the product key provided by us and then click on “Activate Office”.

12. If the window does not appear automatically, click on “File” in the upper left corner and then on “Account”. In the yellow field you will see “Activation required” or “Change product key”. Click on the field and enter the license key.
13. It may be that Windows is set up in such a way that you have to confirm that Office is allowed to make changes on your device. Confirm this at the bottom of the taskbar.
14. There is a short loading time. The program is activated.
15. You will receive a confirmation that the activation was successful.
16. Activate the Office license agreement by clicking “Agree”.
Mac Installation:
8. Launch the installer file.
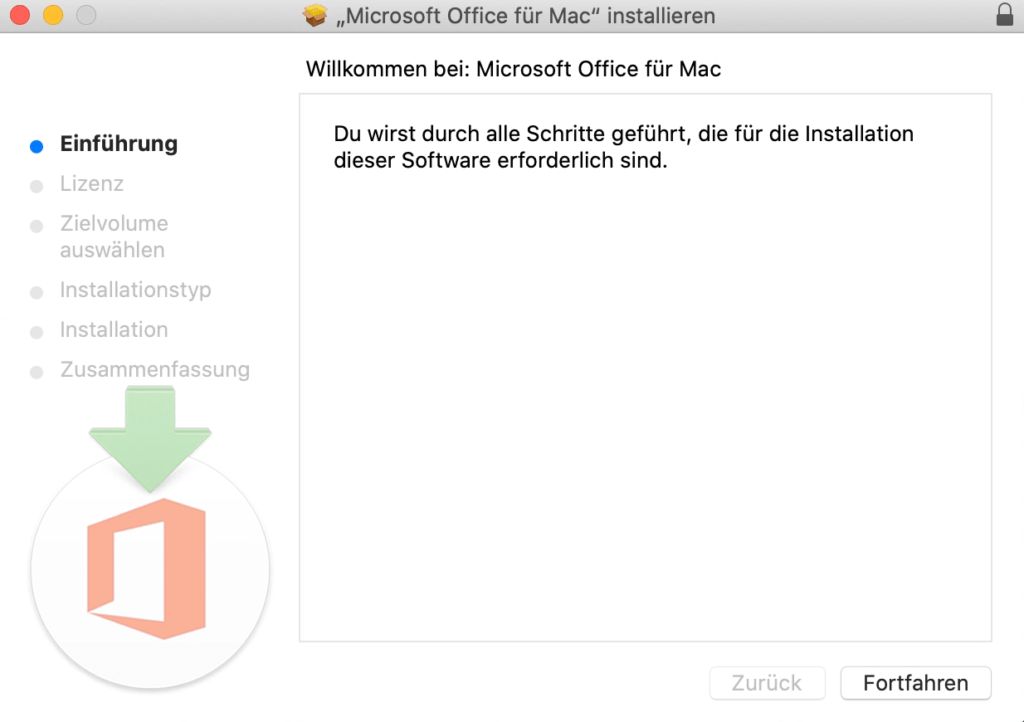
9. The installation manager will guide you through the installation. Click “Continue” for the next step.
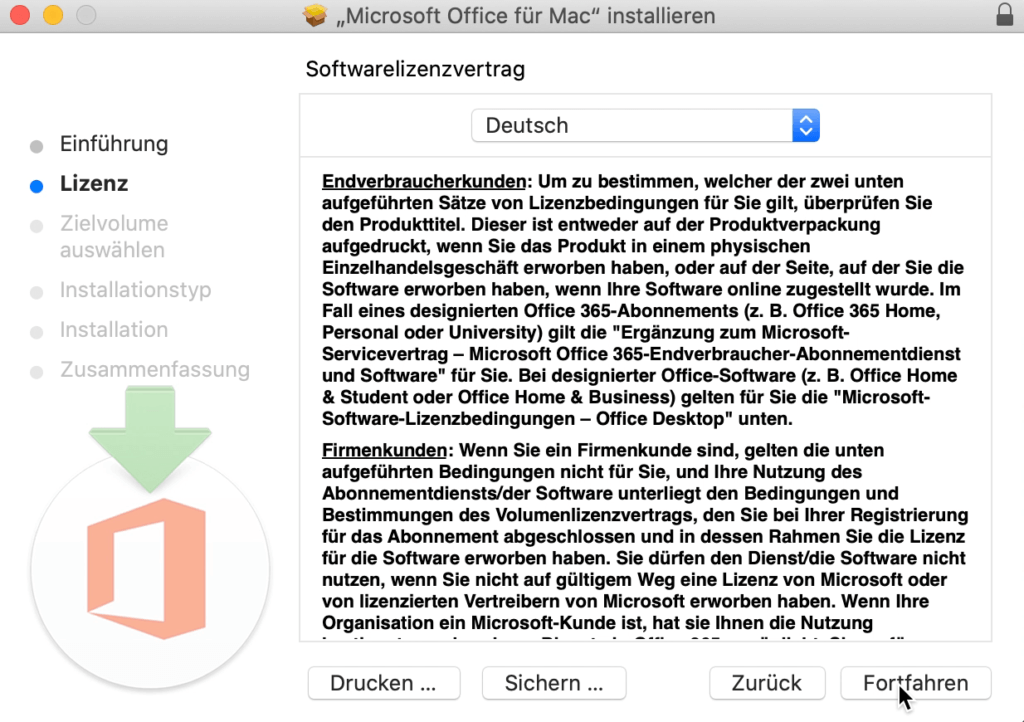
10. Clicking “Continue” will open the window to accept the license agreement.
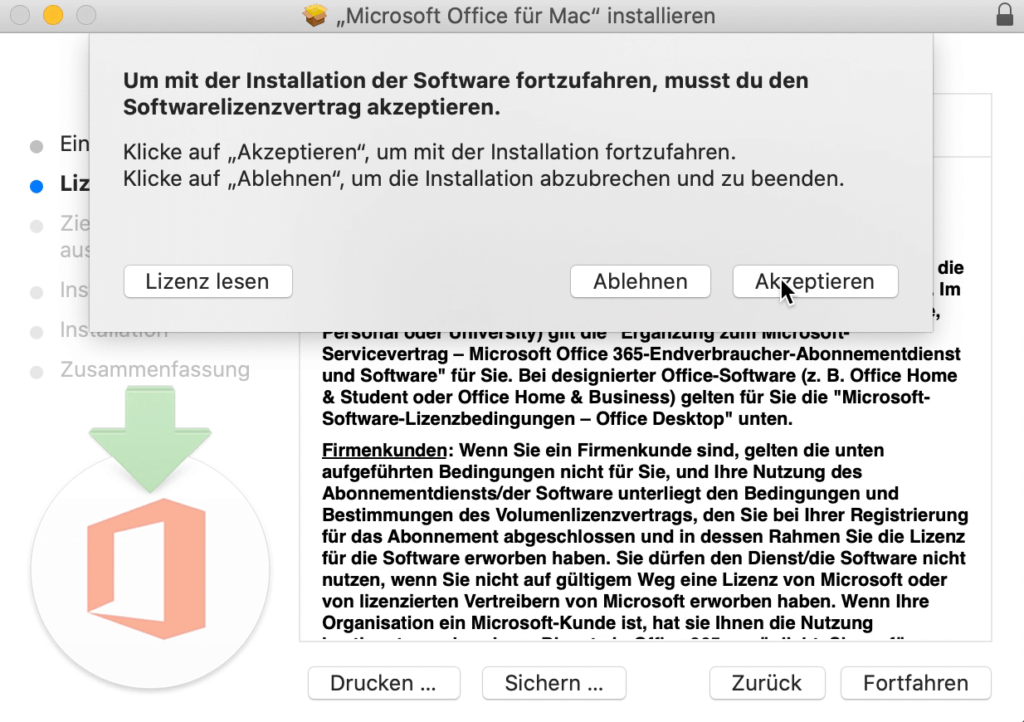
11. Click on “Accept” to accept the license agreement.
12. Click the “Install” button to start the installation process.

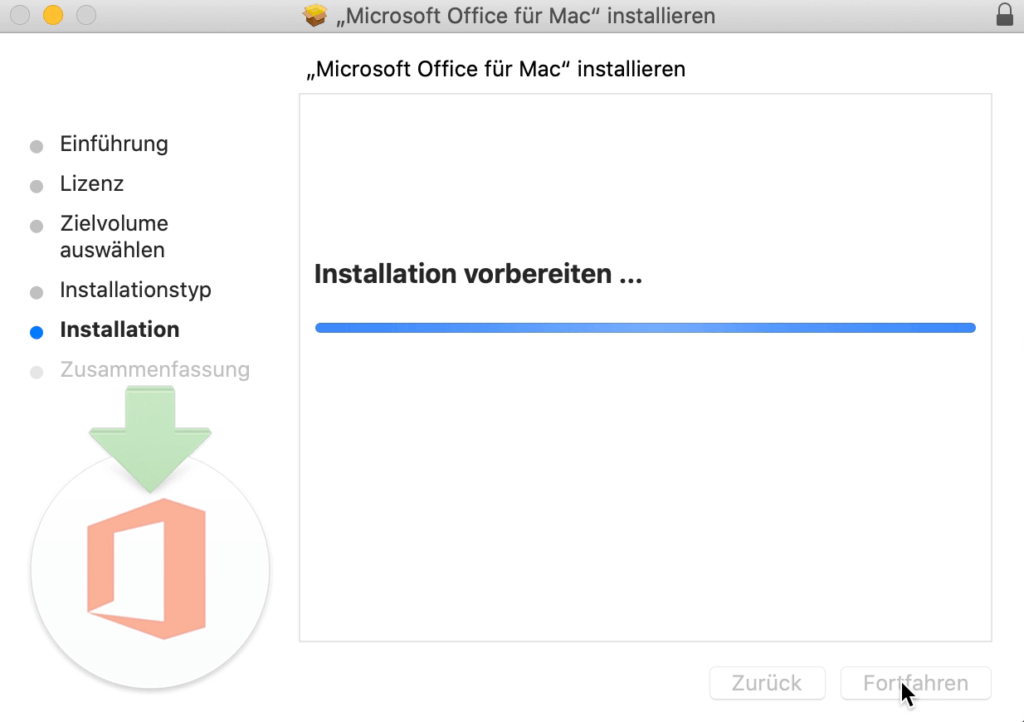
13. The installation will be prepared.
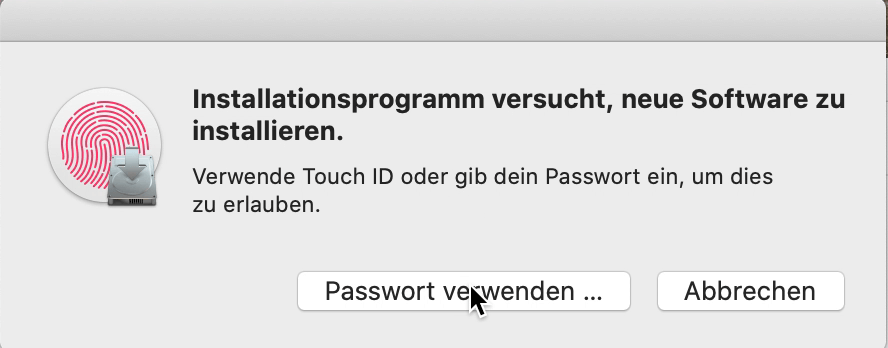
14. Log in with your account.
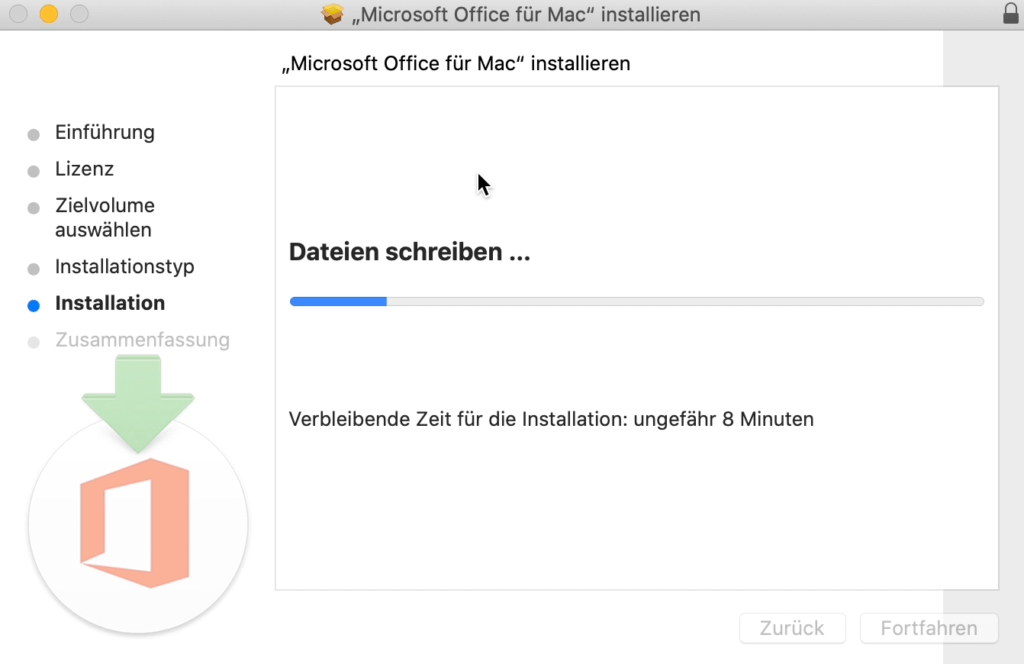
15. The installation may take a few minutes.
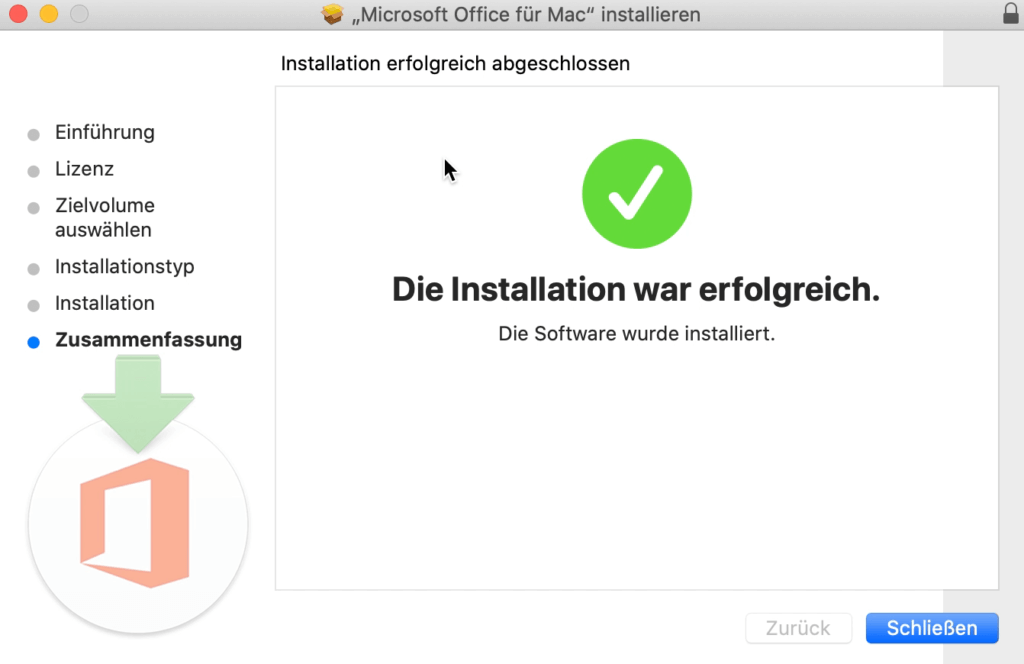
16. The installation manager is now ready and can be closed.
17. The installation program can be removed now.

18. Now you have to accept everything like the installer and continue to the end.
19. After that you can start any Office application. Go to Finder, then click on Programs and open for example Microsoft Word.
If the programs do not open, you should run the Office updates. You can do this using the Microsoft Auto Update Tool. You may have to run the updates several times until it looks like this:
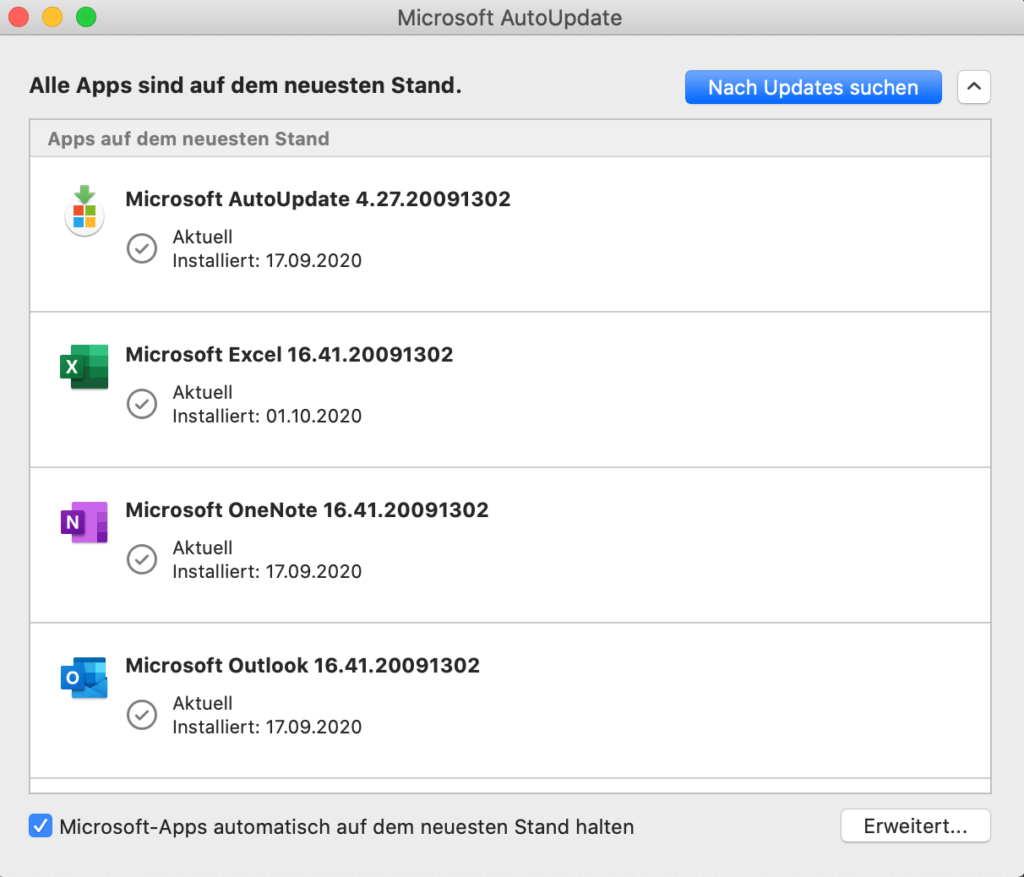
Done! You can now start using Office 2019 Standard Mac.
We wish you a lot of fun with the new product. Thank you for your trust in keyportal.
If you have any questions or concerns, please do not hesitate to contact us!