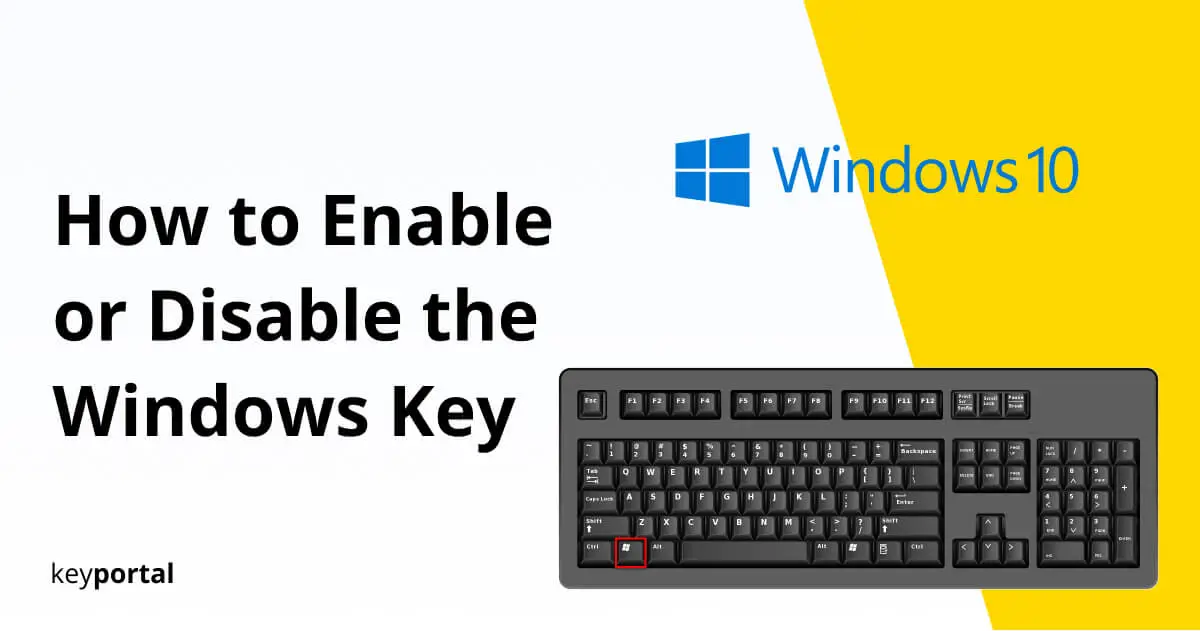
For Windows 10 we can easily show you how to enable or disable the Windows key. If you have accidentally deactivated the function, you do not need any external software, but simply follow a few easy steps. This way you can solve the problem within a few minutes.
Because if you enable the Windows key, you can often save valuable time. If you are looking for a way to quickly open the settings of Windows 10 (for example, to turn on Bluetooth), press Windows key + I. Or you try to lock your computer with Windows key + L when unwanted programs are rampant. The more often the key is used, the less you want to miss it eventually.

Our guide will help you if your Windows key is not working. If you notice any other errors in the layout of your keyboard (e.g. Y and Z swapped), you should first try to change the language. Only then do we come back to the basics:
Where can I Find the Windows Key?
In order to learn how to enable or disable the Windows key, the first step you should take is to find out more about its location and function. On the Windows key there is the famous logo with the glass pane (consisting of four elements). On standard PC keyboards, the Windows key is located at the bottom left, between the Ctrl and Alt buttons. In rare cases, the Windows key can also be found to the right of the space bar.
Quick Help: What to Do if the Windows Key does Not Work?
You have not made any changes to the settings of your operating system? Nevertheless, the Windows key doesn’t work from one moment to the next? This problem occurs especially on notebooks or netbooks that work with the Fn key. In combination with the Windows key, the Fn key deactivates its effect. If you want to activate the Windows key, simply press it at the same time as the Fn key. After that, all keys should work again.

If you are working at a desktop PC, there is also the possibility that someone has intentionally disabled the Windows key beforehand. Therefore, we will explain you step by step how to do that and how to enable the Windows key again afterwards.
How to Disable the Windows Key?
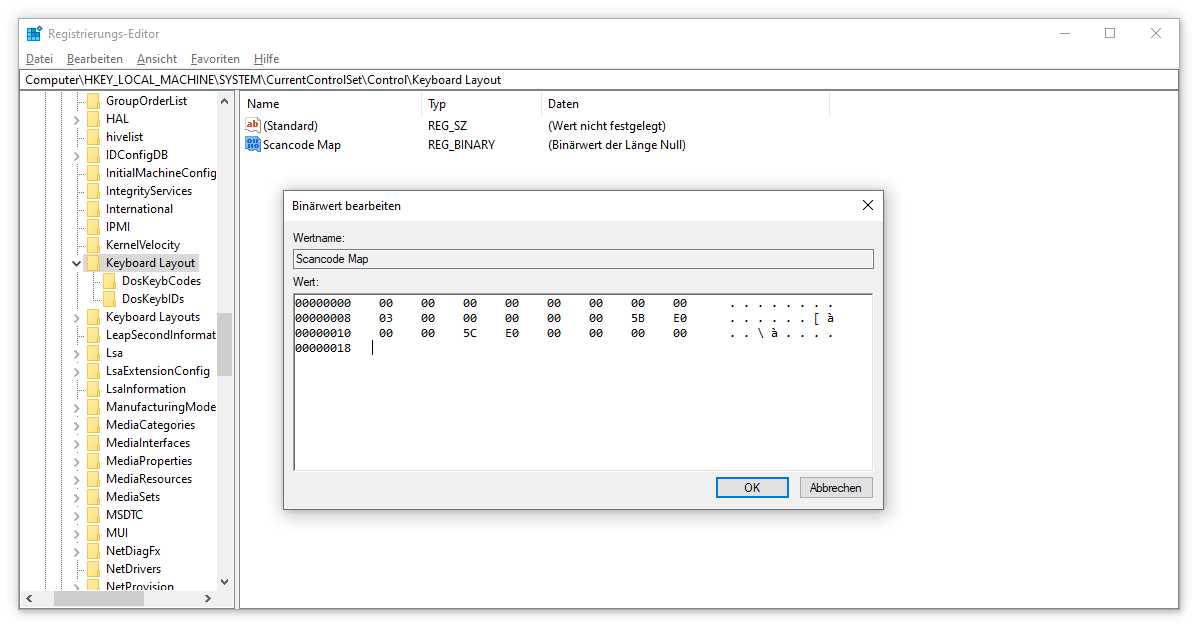
- Open Windows 10 Registry Editor – The quickest way to do this is to open the Run command using the Windows key + R shortcut. There you type regedit and confirm this. However, if your Windows key does not work at all, you can find the Run button via the Quick Access with a right-click on the Start menu.
- In the side subfolders or via the path above, you can find HKEY_LOCAL_MACHINE\System\CurrentControlSet\Control\Keyboard Layout. Here you will usually see a file named (Default).
- With a right click, you can make another entry via New: Binary Value. This one is called Scancode Map. Please open it once.
- Under Value (already selected) you type this string: 00 00 00 00 00 00 00 03 00 00 00 00 5B E0 00 00 5C E0 00 00 00 00. The input is finalized with OK and the obligatory restart of your computer. That’s how to disable the Windows key.
How to Enable the Windows Key?
Logically, you only have to undo what is described in the instructions above. So go to the registry editor of Windows 10 again to start how to enable the Windows key. Since the shortcut is omitted, you can alternatively find the regedit via the search command. Here you open the path HKEY_LOCAL_MACHINE\System\CurrentControlSet\Control\Keyboard Layout again. In the last step, you delete the file Scancode Map and restart the PC. Done.
Great. Now you should know how to enable or disable the Windows key. For example, if your taskbar doesn’t work properly, the Windows key can be a lifesaver. In general, there are numerous options comparable to the hotkeys of the Office Suite where you can use the Windows key to your advantage. You can find an overview directly in the developer blog from Microsoft.